Shelves are a necessity for storage in many corners of our homes, but that doesn’t mean it has to look boring! Properly done, your shelf is both functional and decorative and will be sure to impress visiting guests. Read on to see how you can create your very own Instagram-worthy shelf in just five steps!
1. Consider The Purpose Of The Shelf
The first step is to consider what the shelf is used for.
Ask yourself these questions:
- Will it be used to hold condiments in the kitchen, or for extra storage in the living room and study?
- How much space are you left for decor once you have everything you need already on the shelf?
This will help you approximate the type (size, colour, materials) of shelves to get, and what to put on them.
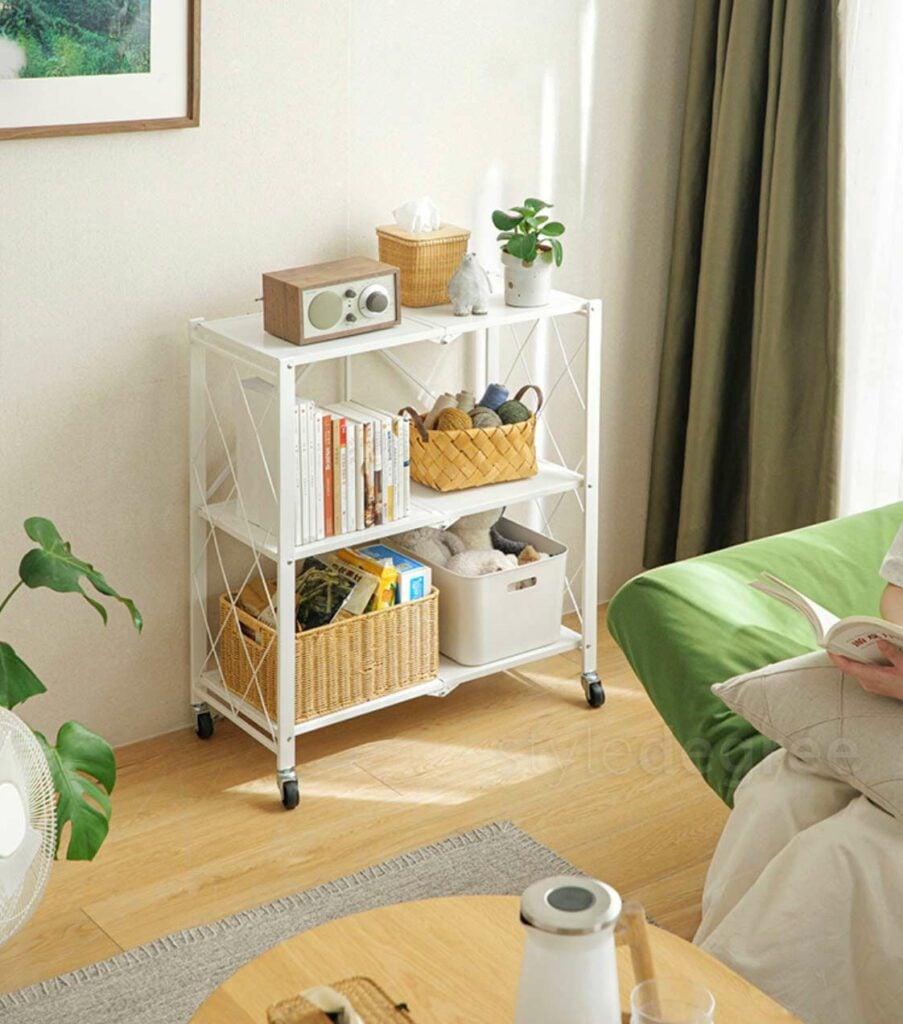
Then, decide on the type of shelf you want to buy. Not ready to commit to a shelf that will be permanently fixed to your walls? Get one that is mobile with wheels, like our Luxe Rollable & Foldable Storage Rack that can be moved from place to place easily and folded away neatly when not in use.
A safer choice would also be to opt for simple styles like white or black shelves and a minimalistic design so that all of your items and decor would match instead of clash with it.
2. Choose A Colour Scheme For Your Objects
Browse inspiration sites like Pinterest for inspiration, and add more specific search terms like ‘neutral’ or ‘all white’ if you have a look in mind.
For a ‘homely’ look


Try warm colours such as shades of brown (beige, tan, caramel), along with natural textures such as woven textiles and wood. Try to stay away from silver and other cool colours to avoid conflict in the colour scheme, and opt for duller or antique bronze shades instead, if you like metallics.
For a minimalistic look


Start by placing larger items on each shelf first. Remember to be practical while styling your shelf as well, place everyday items such as toasters on the higher tiers so it’s easier to reach them.
Stick to monochromatic colours (black and white), and instead add interest by playing with different shades instead. For example, if you have a white shelf, place objects in different shades of white, like cream-coloured or off-white decor for a subtle but noticeable difference. Otherwise, you can opt to switch between matte and glossy or metallic surfaces, like a matte shelf and a reflective silver clock.
-
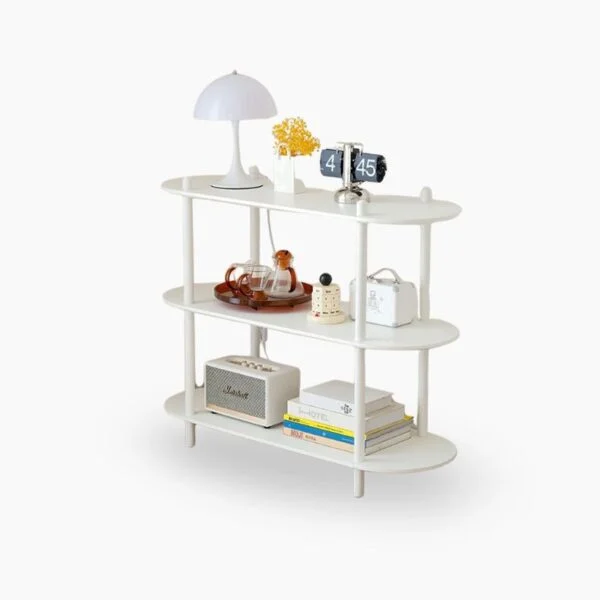 Chic White Rounded Display Shelf$238.00 – $288.00
Since there are limited colours and textures to use with this colour scheme, you can also alternate between large and small objects (like wide trays and a small candle) for an interesting look that the contrast in the sizes will provide.
These small details will allow you to have the minimal look you love without looking boring or one-dimensional.
For a lively look
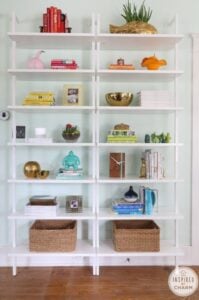
Image source: POPSUGAR
If you aren’t afraid of colour, opt for loud colours for the objects on your shelf. The trick to making your shelf look neat is to follow the colour wheel below. Choose objects like books and vases in colours that are beside or opposite to each other on the wheel so that they don’t clash. For example, red objects can be matched with orange or cyan.
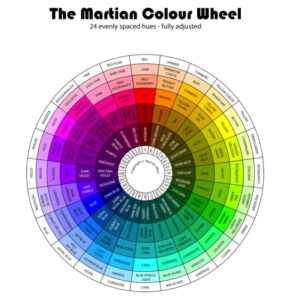
Image source: Warren Mars

3. Start With The Larger Items First
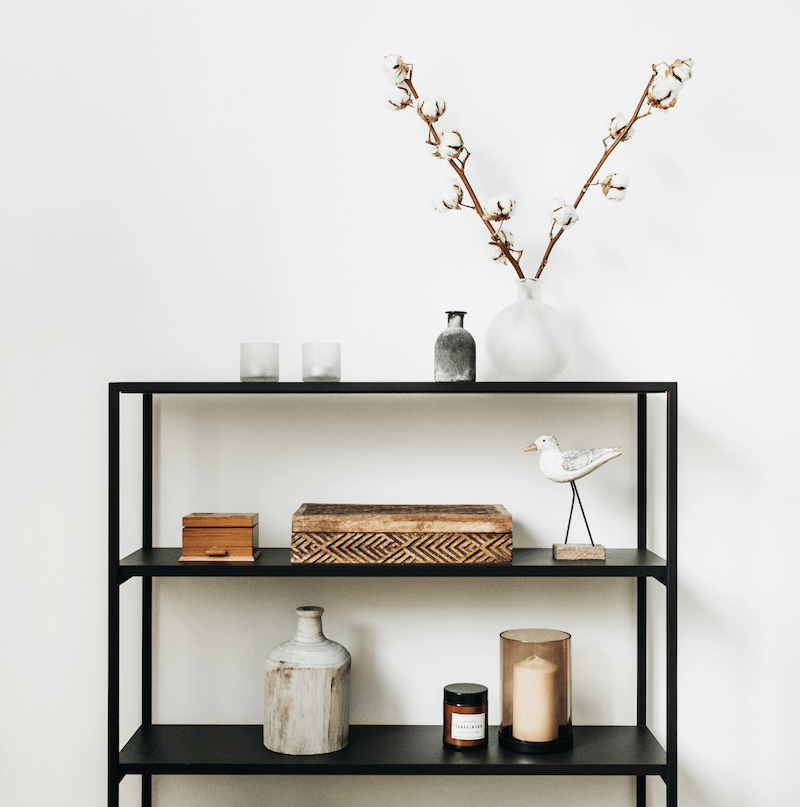

Start by placing larger items on each shelf first. Remember to be practical while styling your shelf as well! Place everyday items such as toasters on the higher tiers so it’s easier to reach them.
If your shelf is smaller (less than 50 cm in width), only place one large item on each tier so it doesn’t look overcrowded. You may place more than one large item on each shelf if it’s wider.
Here are some examples of larger or ‘heavier looking’ items
- Larger vases (especially if they’re opaque)
- Large books
- Storage boxes
- Art and statues
- Toasters, kettles and blenders
- Book organizers
4. Balance With Smaller Details
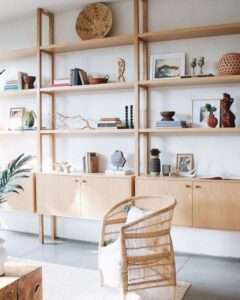
Image source: Delightfull
Once you’ve placed the larger items on your shelf, you should have a better idea of where the emptier spaces are. To balance the look of the shelf and prevent one side of the shelf from looking too occupied, fill these spaces with smaller objects. This can also include stacking them on top of flat, large objects such as horizontally placed books.
Try out some of the options below:
- Small clocks
- Stationery and jewellery organizers
- Potted plants and succulents
- Bookends and book organizers
- Candles
- Small trays
- Figurines
Here are some other factors to consider to create your own unique #shelfie!
Height & Boundaries


Don’t be afraid to play with height! Keeping the height of all objects uniform can give an awkward look. Instead, use items with varying sizes on the same tier, like using an oversized photo frame with a stack of your favourite novels. On the same note, you can also break the horizontal lines that most shelves have with hanging plants such as potted ferns.
Odd Numbers Rule
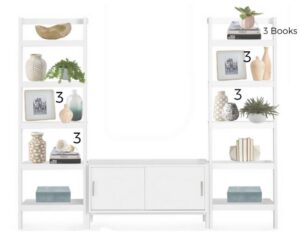
Image source: Jessica Devlin Design
One common trick to create a balanced look is to use the ‘odd numbers’ rule. Style the items on each shelf in odd numbers, such that on each tier there are either 1, 3 or 5 groups of items, depending on the size of your shelf.
Add Storage
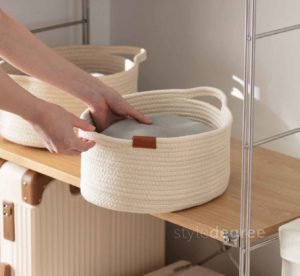
In smaller homes where every space should be maximised, try adding storage boxes or baskets to store miscellaneous objects like children’s toys or cables to prevent unsightly clutter. Use opaque ones such as our Weaver Basket Organizer to hide larger items inside or our Rattan Storage Basket (With Handles) for smaller objects such as remote controllers.
5. Edit

Image source: Real Homes
Once done, take a few steps back to get a different perspective on the shelf. This is what you and your guests would see more often. If one area of the shelf looks too empty or cluttered, rearrange the items on the shelf such that each tier looks balanced in ‘weight’.
Remember that the position of each object isn’t fixed! Feel free to switch up or switch out the items if the design doesn’t work or becomes impractical after a while. You can even dress up your shelf according to the upcoming festivals, such as tinsel, mini pine trees and pine cones for Christmas.
Browse our selection of stylish and durable shelves here and show off your #shelfie-ready shelves on Instagram by tagging us @style_degree!


