Common Queries About No-drill, Peel & Stick Adhesive Organizers, Answered

Have you always wanted to install an organizer, but are afraid to damage your walls or furniture?
Interested in no-drill and adhesives, but are unsure how to use them? We’ve got you covered — read on as we answer everything about no-drill and peel and stick adhesive organizers.
Prefer a video tutorial? Click here to watch.
What Are The 3 Types Of Adhesive?
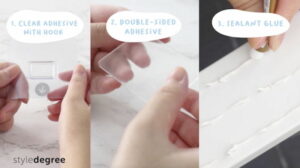
The three types of adhesives are:
- Clear adhesive with hook
- Double-sided adhesive
- Sealant glue
How Should They Be Applied?
Both clear adhesives and double-sided adhesives can be applied with a simple “peel and stick” method. However, sealant glue placement requires you a specific procedure, which is detailed below.
Q1) What Types Of Surfaces Can The Adhesives Be Pasted On?
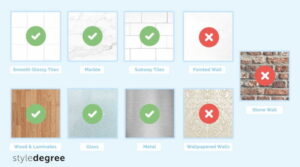
Adhesive organizers can be placed on:
- Smooth glassy tiles
- Marble
- Subway tiles
- Wood and laminates
- Glass
- Metal
However, they cannot be placed on:
- Painted walls
- Wallpaper
- Stone wall
If you still wish to paste them on your painted wall, do note that depending on the quality of your paint, it may peel off upon the removal of the adhesive.
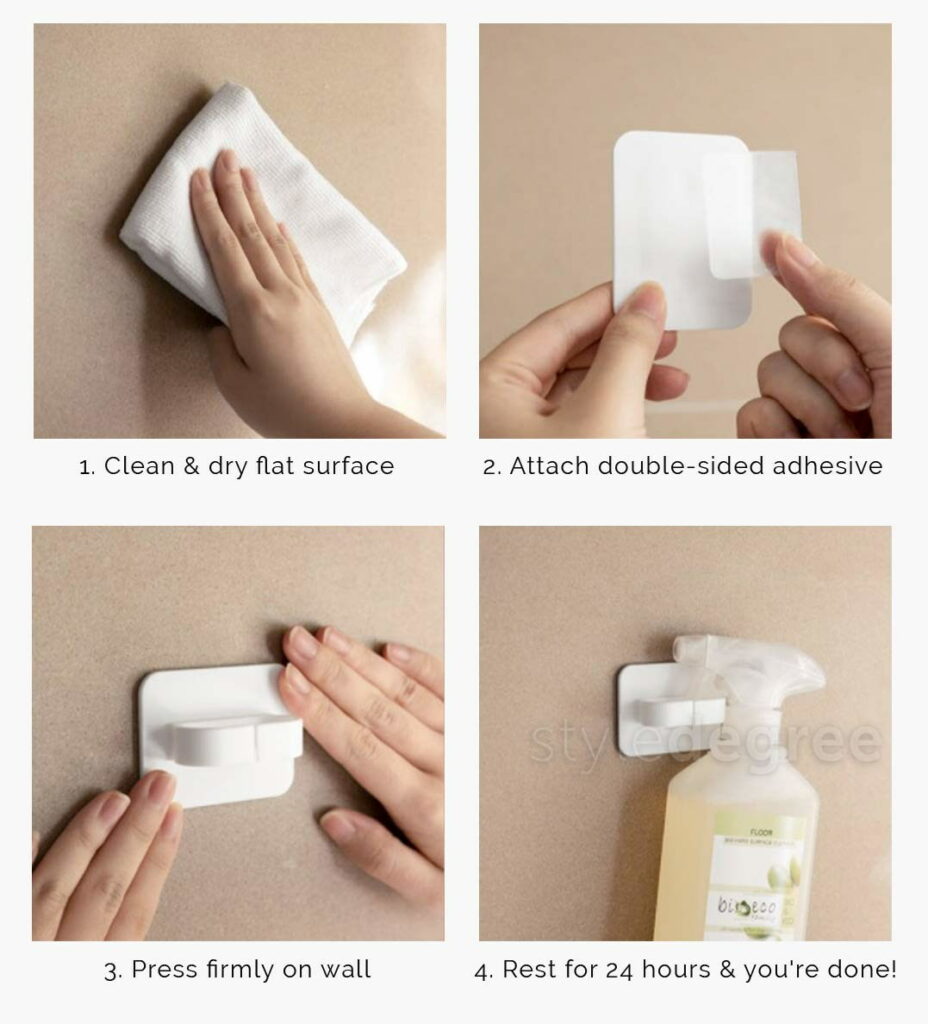
Q2) What Is The Right Way To Stick And Use The Adhesive?
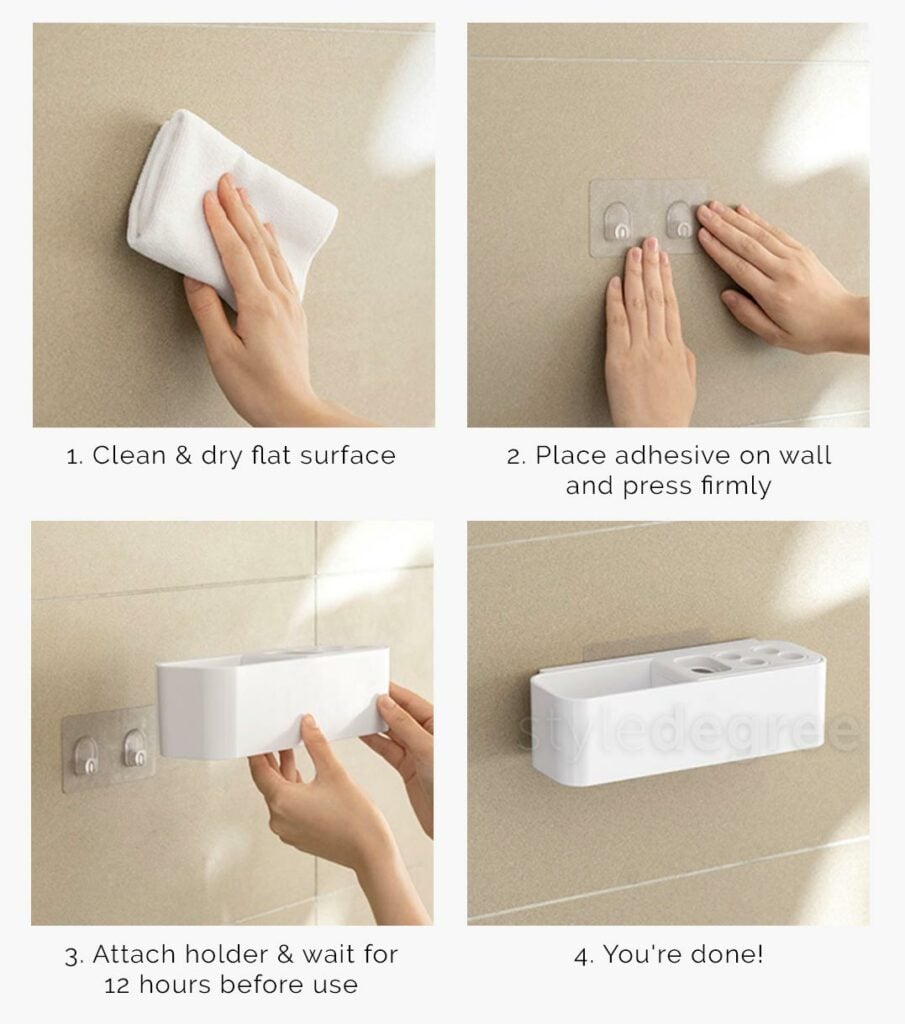
For adhesives, wipe your chosen surface with a microfiber cloth. Then, peel the adhesive off, making sure to adjust the position correctly.
Note: Some adhesives come in arrows that show you which side is right-side up.
Press firmly onto the wall and leave on for 24 hours. You can then attach the product the following day.
For double-sided adhesives, it’s encouraged to stick the tape onto the item first before placing it firmly onto your surface of choice.
In need of wall holders to utilise space on walls? Check out our kitchen and bathroom wall holders.
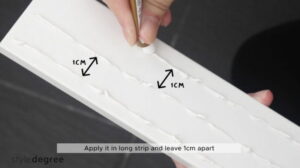
For sealant glue, it’s important to take note of how to place it. Make sure to apply long strips while keeping them 1 cm apart. Below are some dos and don’ts when applying sealant glue:
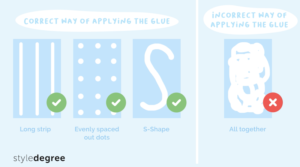
Make sure to apply the glue methodically and not as a clump.

Q3) How Much Weight Can The Adhesive Typically Hold?
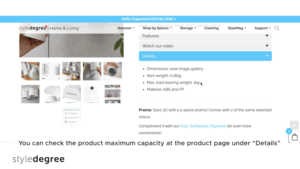
Check the product’s maximum weight capacity under the “Details” tab to find out its limitations.
Q4) How Should I Remove It? After Removing, Is It Still Reusable?
For adhesives, you must first remove the product from the adhesive holder. Use a tool with a flat surface head (eg. scraper, flathead screwdriver) to slowly remove the adhesive. Peel off the adhesive bit by bit until it comes off.
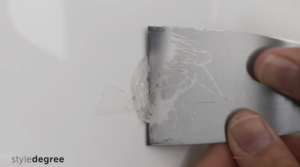
If you notice adhesive residue, use your tool of choice to scrape it off. You can also use rubbing alcohol on a piece of cloth to scrub off. You can then wipe the surface with a damp cloth and let it dry to make it good as new!
Note: If you want to reuse the adhesive, replace it with a strong double-sided tape.
For sealant glue, blow dry hot air onto the item, focusing on the corners of the adhesive. After that, scrape off the glue using your tool.
Watch a video tutorial on how to remove adhesive below:
Now that you know the basics of no drill and adhesive organizers, go ahead and try and install one yourself. Tell us how your no-drill organization installation went! What surface did you put it on?