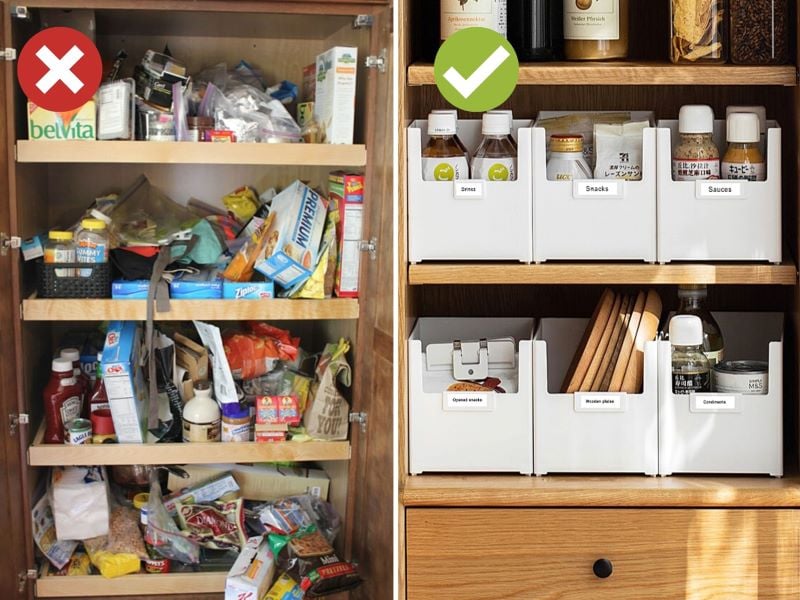
Is your kitchen pantry made up of a disorganized mess and attracting pests?
Or… are you wasting precious time and money throwing away expired sauces and dry goods?
Follow these 6 easy-to-follow organizing rules to get yourself on track to a tidy kitchen pantry you can be proud of to show off!
Watch our pantry organization tutorial below!
1. Plan & Categorise
Yes, organizing requires planning. Planning out how to group your items and exactly where to store them are important steps to an organized pantry.
Start by taking everything out of your pantry and look through what you currently have. From there, form a rough idea on how you want to categorise them. Draw or write it out on a piece of paper to keep yourself reminded as you start organizing.
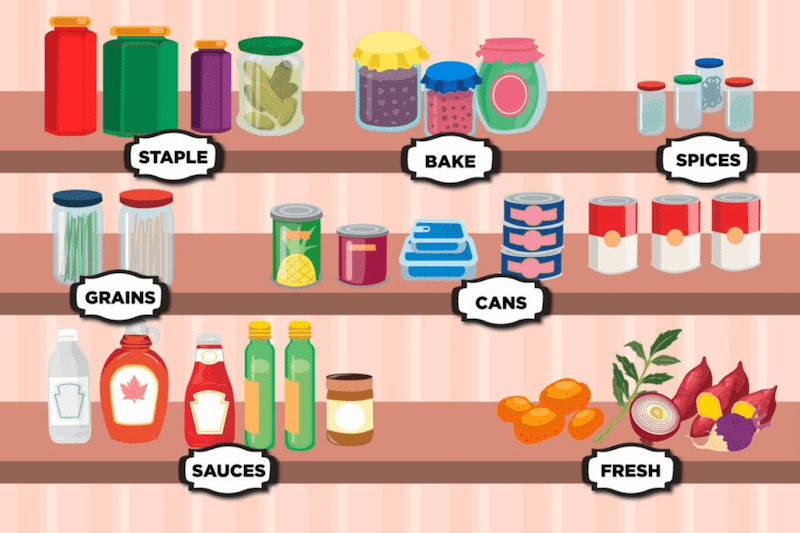
Image source: Reader’s Digest, Tatiana Ayazo
Here are some pantry categories ideas to get you started –
- Daily cooking condiments (e.g salt, sugar, oil, soya sauce, pepper)
- Less frequently used condiments and sauces
- Herbs and spices
- Dry goods (For cooking, for baking)
- Canned food
- Spreads
- Tidbits/Snacks
- Bread
- Fresh produce (e.g garlic, onions)
After categorising, think of the placement of each category of items. Would they be stored on your kitchen countertop or inside the upper/lower cabinets? If you have children at home, keep their snacks in a basket at the lower cabinets so that they can easily see and grab it!
Before you place everything back into your pantry, make sure to get rid of any expired or stale food items and give the shelves a good wipedown.
Reorganizing your pantry? Check out our Kitchen Cabinet & Pantry Starter Kit to get your pantry neat and tidy!
2. Adopt The First-In-First-Out (FIFO) Method

Image source: abowlfulloflemon
Do you find yourself with multiple expired food items? To reduce food waste, adopt the first-in-first-out system (FIFO). This system is commonly used in grocery stores – place the older inventory in front and the newer ones at the back. This is to make sure that all the goods are sold before its expiry date.
Organize your pantry in this manner as well – store your food items in rows, with the older inventory at the front. When you come back from the grocery store, place the duplicates behind the older inventory.
You can use a masking tape and marker to indicate the expiry date of the older inventory so that you’ll remember to use it first.
Tip: Use 2-tiered spice racks for your canned food items so they remain visible!
3. Maximise Storage Space In Kitchen Cabinets
Doors are a real prime estate that many often forget to utilise. Use your doors for extra storage space – hang over-the-door baskets or food containers that hang from a door. Store food items like snacks and extra coffee packets to keep it visible and accessible.
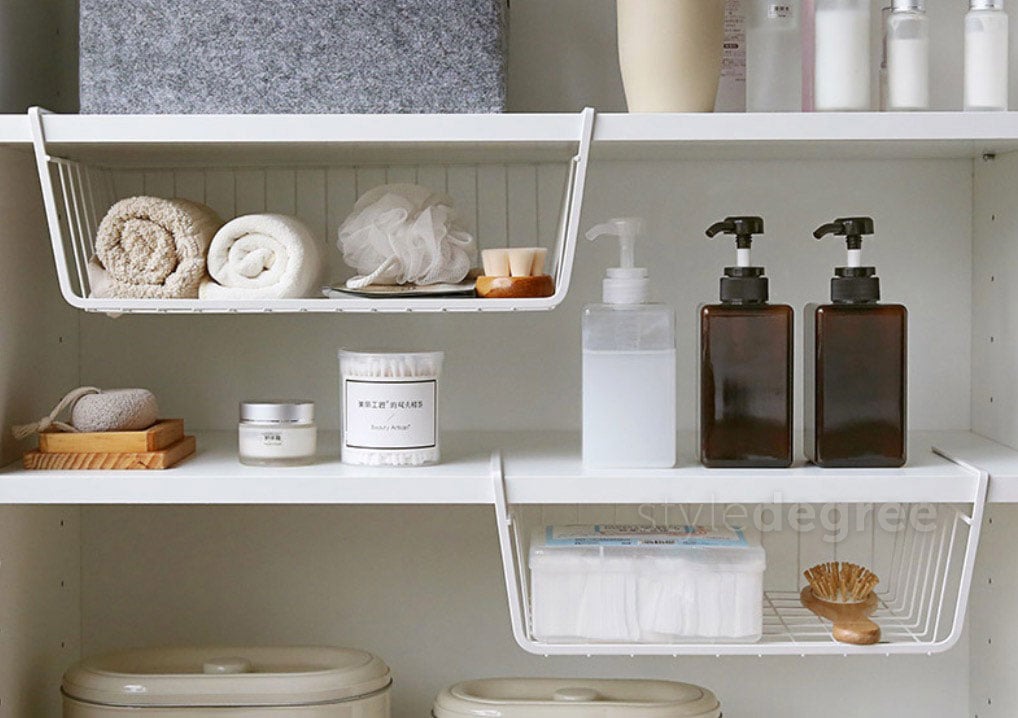
You can also double up your pantry space by utilising an under shelf basket or kitchen rack organizers – these organizers allow you to fully utilise height space for all your food items!
If you’re working with a deep cabinet, utilise lazy susans for bottles and condiments to ensure that you can easily access them even if they’re stored at the deep end.
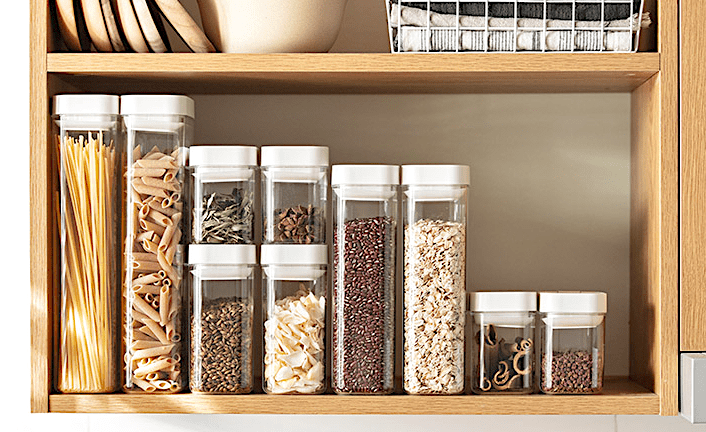
4. Use Clear Containers For A Uniform Look
Give your pantry a clean and streamlined look by using clear food containers and glass jars. Transfer ingredients such as flour, pasta and beans into these clear food containers instead of storing them in their original flimsy packaging.
Having matching and stackable containers helps you fully utilise cabinet space and keeps everything in place.
Decanting grains into jars also makes it easier for you to empty and clean your pantry and cabinets.
Check out our range of Food & Pantry containers to keep your food fresh and organized!

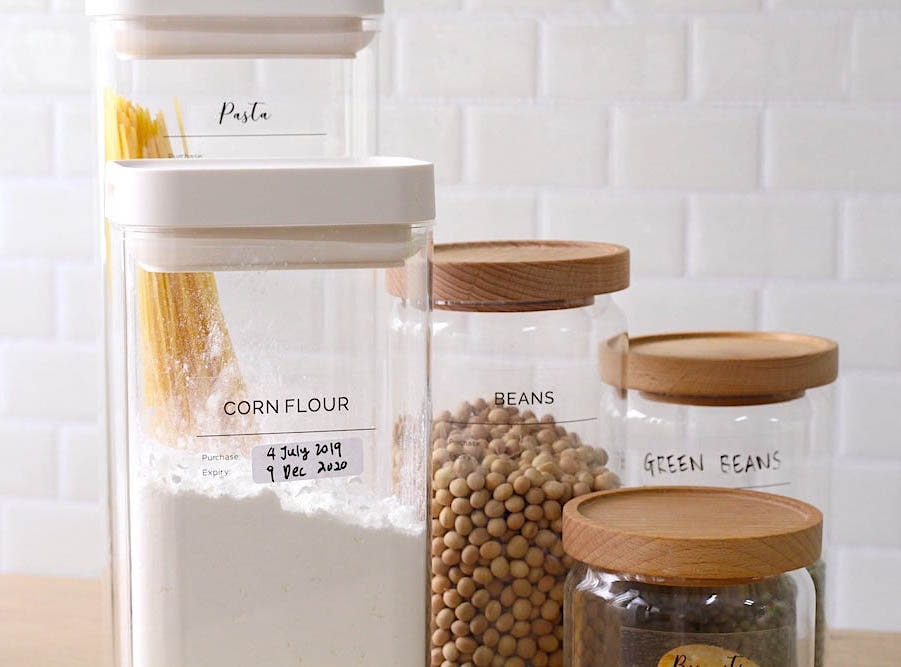
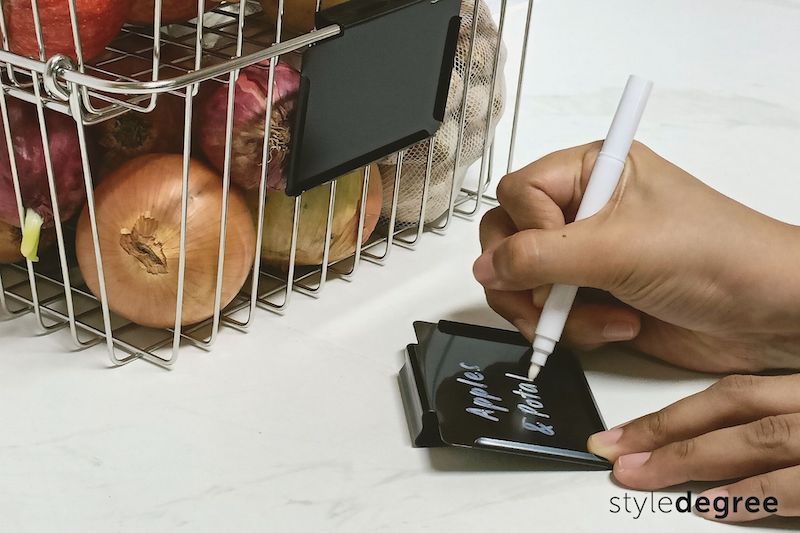
5. Label for easy viewing
Know what’s in the container, jar or basket at a glance just by labelling your containers.
Stop playing the guessing game with your types of flour, or sticking your finger into your condiment holder to test if it is sugar or salt.
If you need a little help to get started with labelling, our Pantry Sticker Labels are here to help. Be able to write the purchase and expiry date of the items directly on the labels too! Otherwise, you can create your pantry labels with our Mini Label Maker & Printer.
6. Clean your pantry every 3 months
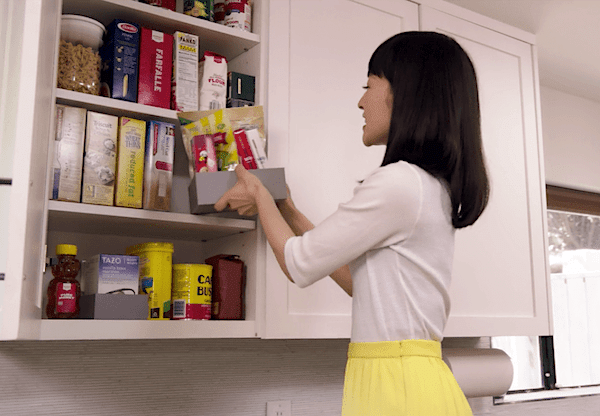
Image source: Netflix
To maintain a clean and organized pantry, being consistent in cleaning is necessary. Take out your containers and food items and wipe down your surfaces with vinegar – it’s a great disinfectant and it also keeps the ants out!
Tip: If you find ants crawling on your honey jar, fill a shallow plate with water and place your honey jar on it. Do remember to replace the water at least once a week!
Clean up accidental spills, traces of pepper, sugar in your kitchen pantry and of course, ensure that there are no expired goods on your pantry.
Do not wait until it is the spring cleaning season to get started! Consistency is key.
Also read on StyleMag: 10 Best Decluttering & Tidying Lessons From Marie Kondo’s Netflix Series
Watch how to organize your pantry below!
With these 6 organizing rules, it is time to KonMari your pantry and achieve a beautifully neat pantry you have always dreamt of!
Do share with us your final Instagram-worthy kitchen pantry look on Instagram by tagging us (@style_degree) 🙂


