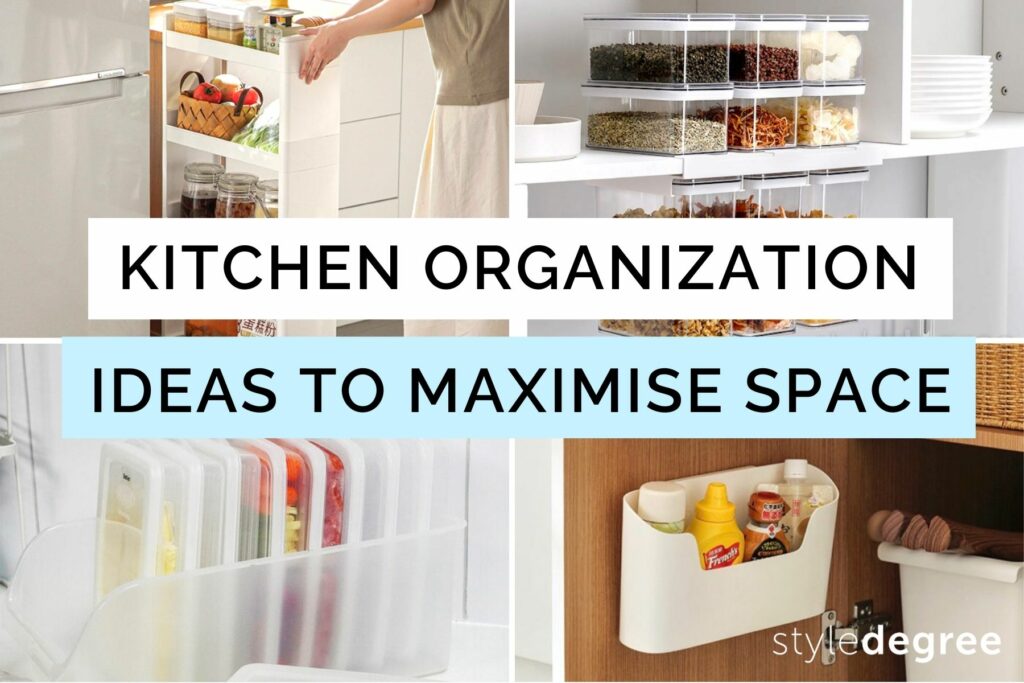
Label Your Pantry Containers & Storage Boxes With These 10 Creative Methods
When finding items, it can be frustrating not being able to find stuff in the kitchen. You may even have stored personal belongings in storage boxes, but find it difficult to tell them apart.
That’s where the miracle of labelling comes in.
With labelling, you can better track and easily identify items. Say goodbye to confusion: here are 10 labelling methods (including DIY tips!) for you.
1. Wipe Off Sticker Labels
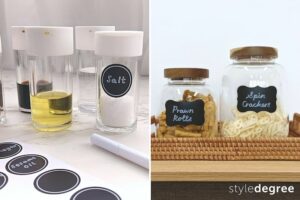
Write and customise the name of your pantry goods on its special PVC sticker. Each sticker comes with a mini-white marker that can be wiped off easily with a wet tissue. Its chalk-like ink is sure to give your kitchen some extra classy charm!
You don’t have to waste any tape or paper to make these labels, as they’re convenient, reusable and waste-free.
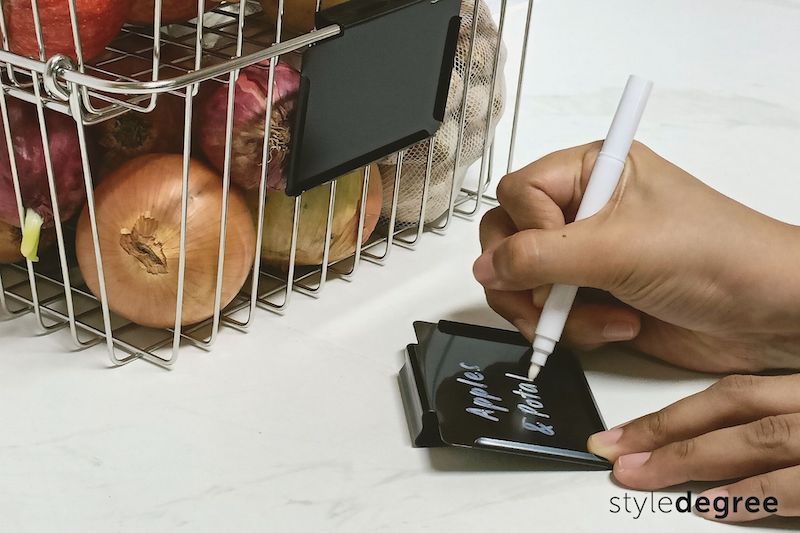
2. Clip-On Labels


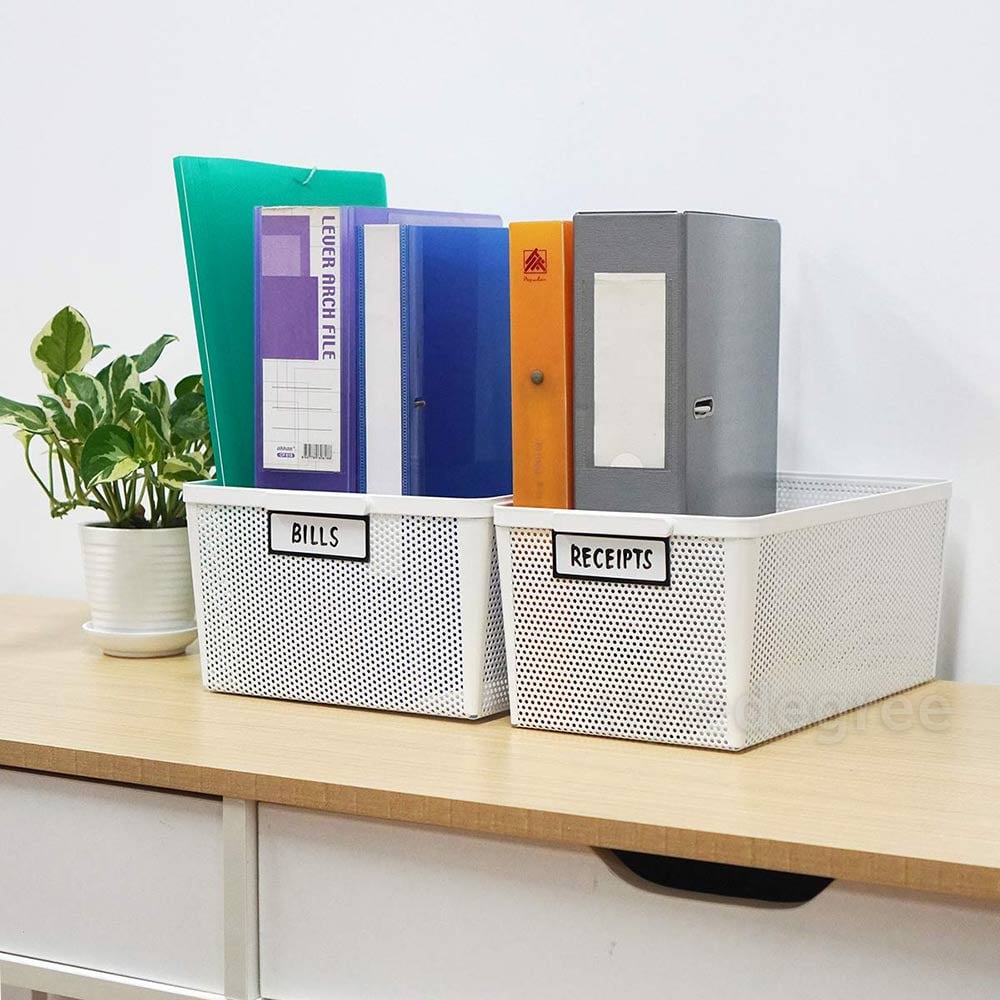
Corral packaged food (e.g chips, dry goods, drinks) into large baskets for more accessible storage in your lower kitchen cabinets. Large baskets can also help organize toiletries and bathroom essentials under your sink or store bulky seasonal clothing in your wardrobe.
Slide a clip label holder at the front to identify items better the next time you’re looking for them. Metallic gold holders like the one in the image will stand out against wicker, basket and other non-smooth surfaces.
3. Magnetic Labels


If you’ve got metal storage containers, trolleys or wire baskets, our Magnetic Whiteboard Labels are a match made in heaven! These handy labels adhere to magnetic surfaces and can be removed without any hassle. You can shift them to different positions and relocate them to any side of your metal storage bin.
This special label mimics a whiteboard surface and comes with a free mini-whiteboard marker with a provided eraser cover.
4. Custom Print With Label Maker
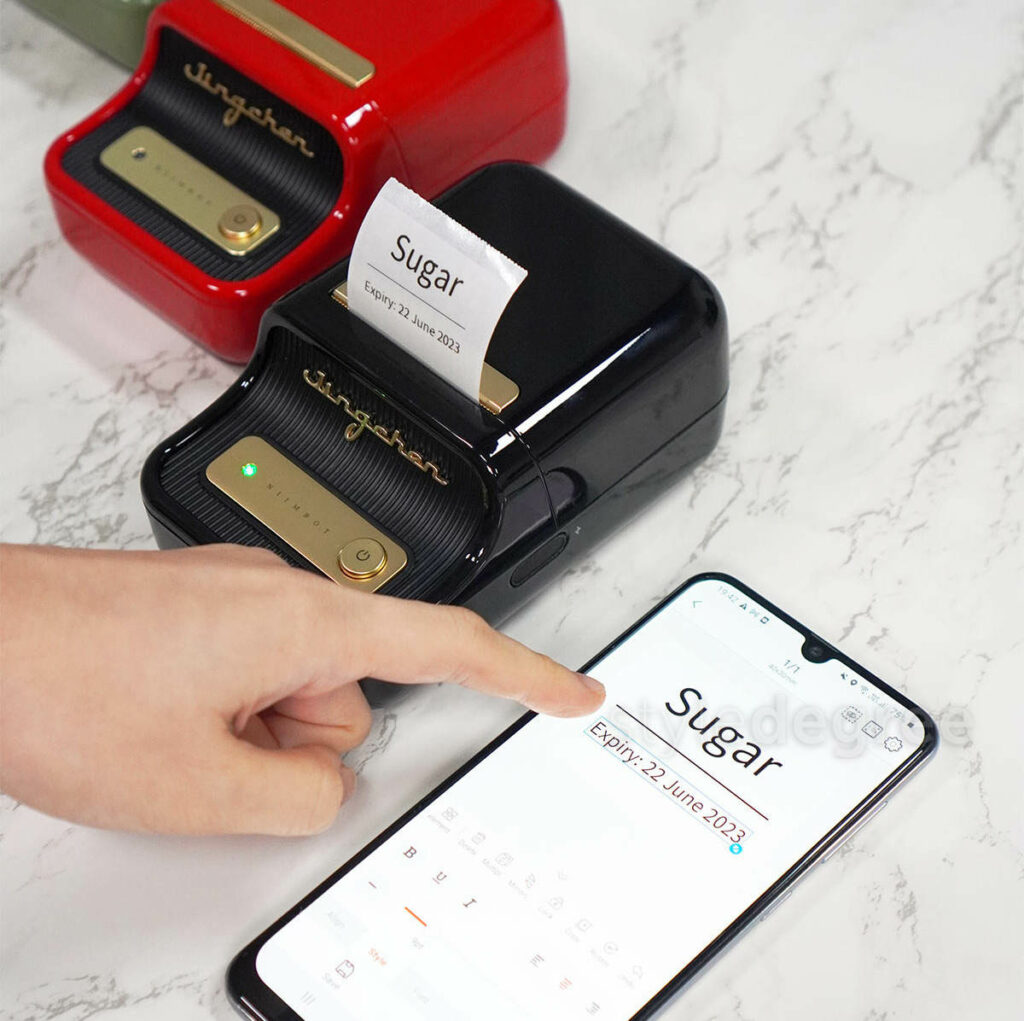
Ft. Retro Portable Label Maker & Printer
Flex your creative muscles by custom printing your own labels with our label maker. Create your own professional looking labels with pre-generated text fonts.
Tip: Our custom label maker can print any language as long as your phone keyboard allows it.
Each label comes in a variety of shapes and sizes (rectangular, circle) and is available in both white or transparent material. You won’t have to worry about ink cartridges as our label makers use thermal printing. Find out how to use our label makers with the video below:
5. Pre-printed Sticker Labels

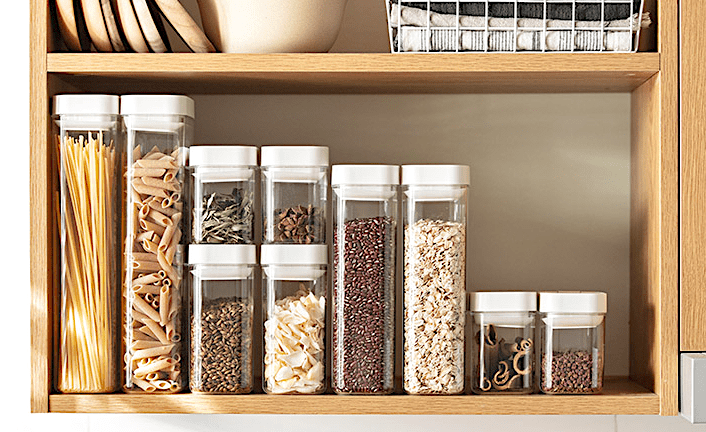
Want a more hassle-free method? Transparent pre-printed labels are the way to go. They can come in many variations, and cater to classic pantry items from spices, rice/pasta and dry goods.
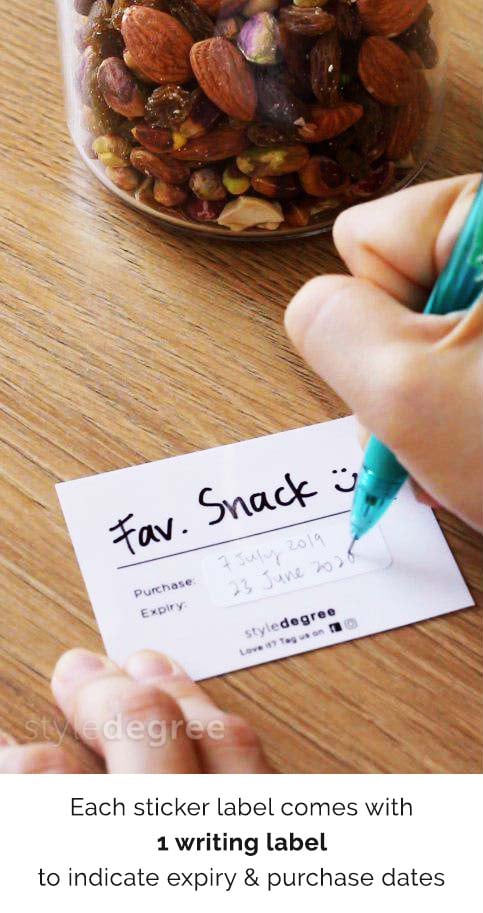
Our sticker labels look best against clear plastic/glass containers and come in two font styles — Simple and Classy. Each label also comes with extra space underneath to write down the date of purchase and expiry.
Choose from these categories:
- Condiments & Cooking
- Dry Goods & Baking
- Herbs & Spices
- Cleaning (Hand Soap, Dish Soap, Powder Detergent)
DIY Labelling
6. Decorate With Washi Tape
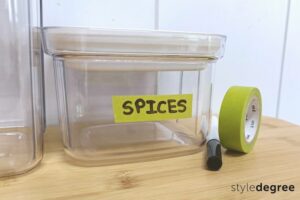
Try your hand with some bright decorative washi tape to add a little colour to your pantry container lids. Washi tape is a light material, can be taken off easily when you want to change the inner contents of the container.
Tip: Avoid patterned washi tape as it can make it difficult to read your labels.
7. Recycle Packaging
Recycle labels by cutting out the names from food packaging and pasting it on your pantry container. This zero-waste and easy life hack is perfect for those who don’t want to purchase any new labelling items or use any craft materials.
8. Write On Directly With A Permanent Marker

Image Source: Bianca Osbourne
Love vintage vibes? Use a white permanent marker to imbue a classic feel just for your kitchen. This method goes well with any glass container, and looks especially great for containers holding traditional snacks and sweets.
Tip: Try writing out your label with a cursive font for a retro aesthetic.
9. Wrapped Paper

Image Source: Organized Home
For more stylish labels, you can print your own labels and wrap them around glass containers for a fancier look. Wrapped paper labels are also highly customisable, as you can change the label material and colour.
Add extra info like date of purchases and expiry dates to further personalise your pantry storage.
10. Using Laser Printer & Packing Tape
For those more confident in their DIY skills, use packing tape to make your own labels. The above video tutorial shows you how to make them with a simple “scratch and soak” hack.
Simply print a set of labels with a laser printer and cover it with tape. Scratch the ink onto the tape and soak it in water. After one minute, you can then scratch off the paper backing, leaving you with just the text. Leave it to dry and the tape will go back to being sticky, allowing you to apply it onto any storage container.
Labelling your pantry will help you find and identify your items with more ease. Share with us down below if you tried any of these methods? Are your spices and condiments more organized now?