Are you facing problems with home organization?
You may have already decluttered your living space with the KonMari method, but that’s not the end yet. After purging, you need to put together what’s left in a tidy manner.
This is where organizational zones step in.
What Is Organizational Zoning?
With this method, you divide each area of your home into sections, meant for the category of items as well as specific tasks you carry out within the respective spaces.
Using the idea of organizational zoning, follow these simple tips to transform your home into a functional and neat haven!
The 5-Step Process To Create Organizational Zones
1. Know Your Habits

Image source: AsiaOne
One good way to start out, is to figure out your habits at home. Take note of where you place your item and carry out various activities in your home.
For instance, If you have the habit of dropping off your bags and keys by the door, turn your entryway into a designated “drop-off zone” that keeps these items so you won’t ever forget where you put them.
Once you keep track of your habits, it’ll be easier for you to allocate spaces according to your own needs.
2. Divide & Subdivide The Space
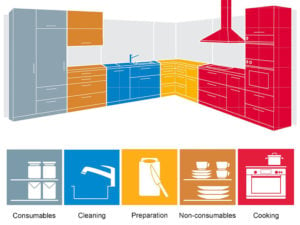
Image source: Pinterest
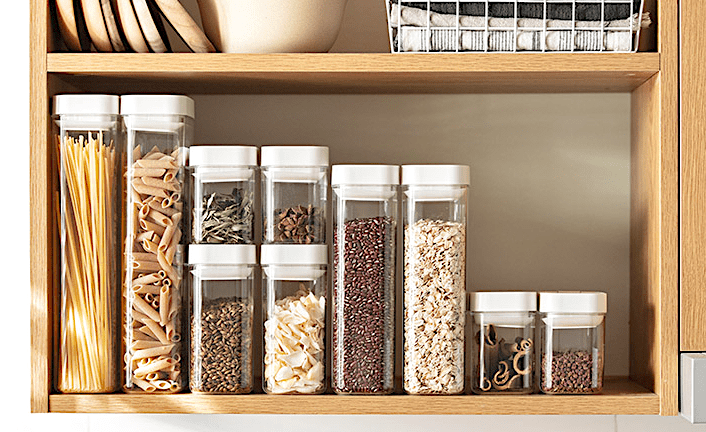
To start off, place similar items in the single space. After that, this is where subdivision comes in.
Subdivision is a further breakdown from the original space created for a specific activity. It’s something like a ‘file within a file’, and it saves you time from having to look up and down. How so? Subdividing will result in proper categorisation, and your mind will automatically be directed to the section you need.
One prime place to create zones and subdivisions, is the kitchen. In Singapore homes, the kitchen space tends to be small, so if you don’t plan well, your space will not be used efficiently.
Here’s an example of how to create organizational zones in your kitchen.
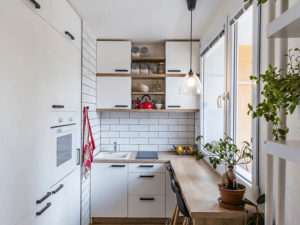
Image source: Faber Spa
The aim is to make it functional and also convenient for you to access.
One feasible method is to divide it into 3 portions: the cooking zone, cleaning zone, and pantry zone.
Cooking Zone
Put what you need near you, and segregate them. For example, store taller ingredients such as cooking oil, large sauce bottles together in a rack; smaller condiment bottles like spices, salt, and sugar. A lazy susan will come in handy to help you reach between corners.
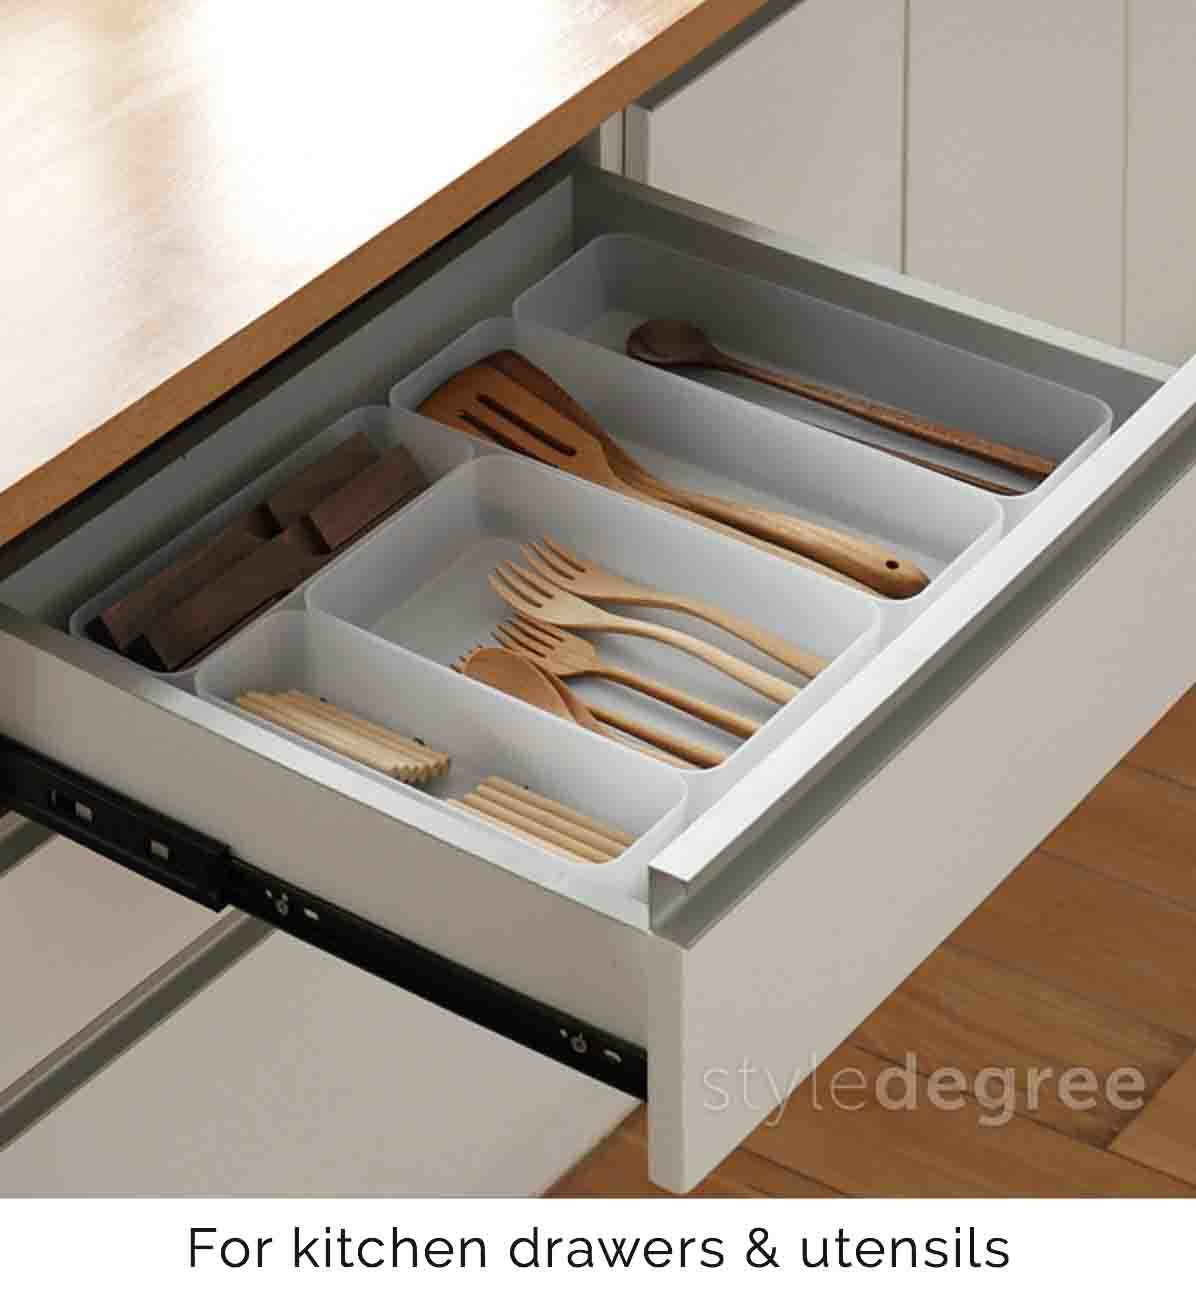
To store your cooking tools, use the drawers beside the stove and be clear on where you are storing things.
The very first drawer can be dedicated to smaller utensils like measuring spoons. For the second drawer, place your kitchen towels, oven mitts, or potholders. Lastly, for the bottommost one, save it for cling wrap film, spare usable plastic bags, and aluminium foil.
On the countertop, keep a small section specially for your wooden spoons, kitchen knives, and cutting boards.
Washing Zone

This area commonly keeps your washed and to-be-washed kitchenware.
If you have a double-layered dish rack, have the bigger dishes and bowls on the top layer, while cups and mugs stay on the bottom layer.
As for the dried crockery, store and sort them in the cabinets this way: lesser used, larger plates and glasses should be at the top, with medium and smaller dinnerware at the bottom layer.
For your cleaning essentials like sponges, refill packs, and washcloths, store them under the sink.
Pantry Zone
Subdividing your pantry will allow you can see what food you have, whether you need to restock, and finding goods will be efficient.
Here are some categories you can subdivide your pantry zone into:
- Snacks and tidbits
- Breakfast food
- Instant meal ingredients (e.g instant noodles etc)
- Canned food and drinks
- Dry goods
- Baking supplies
3. Make Space Efficient With Organizers & Inserts
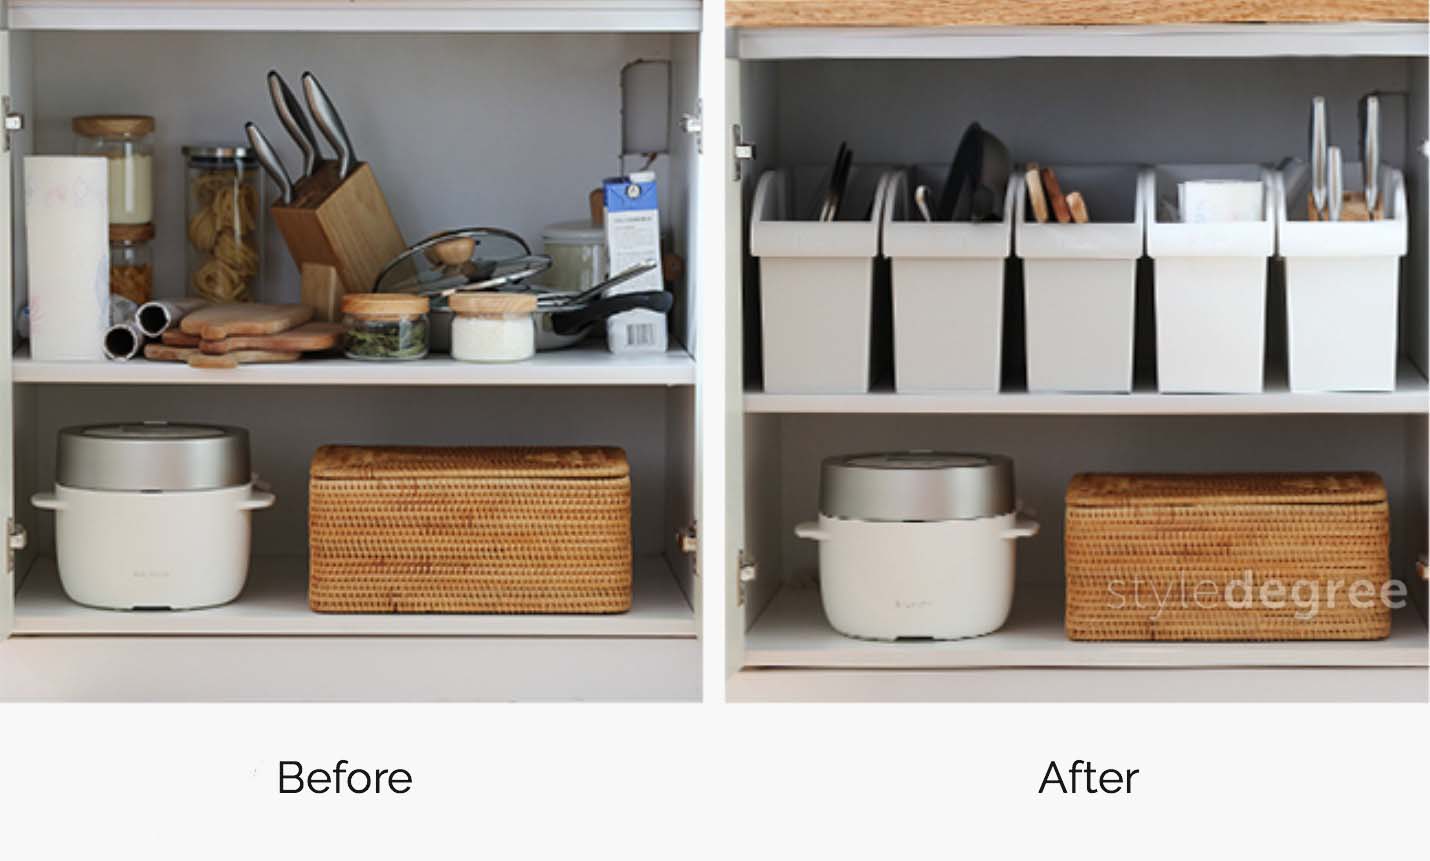
If you want to make the most of your zones, maximising space is key especially with tall cabinets.
To do that, inserts can help. For example, our Extendable Kitchen Rack Organizer utilises height space with a dual-layer design, and supports kitchen essentials like pots and pans.
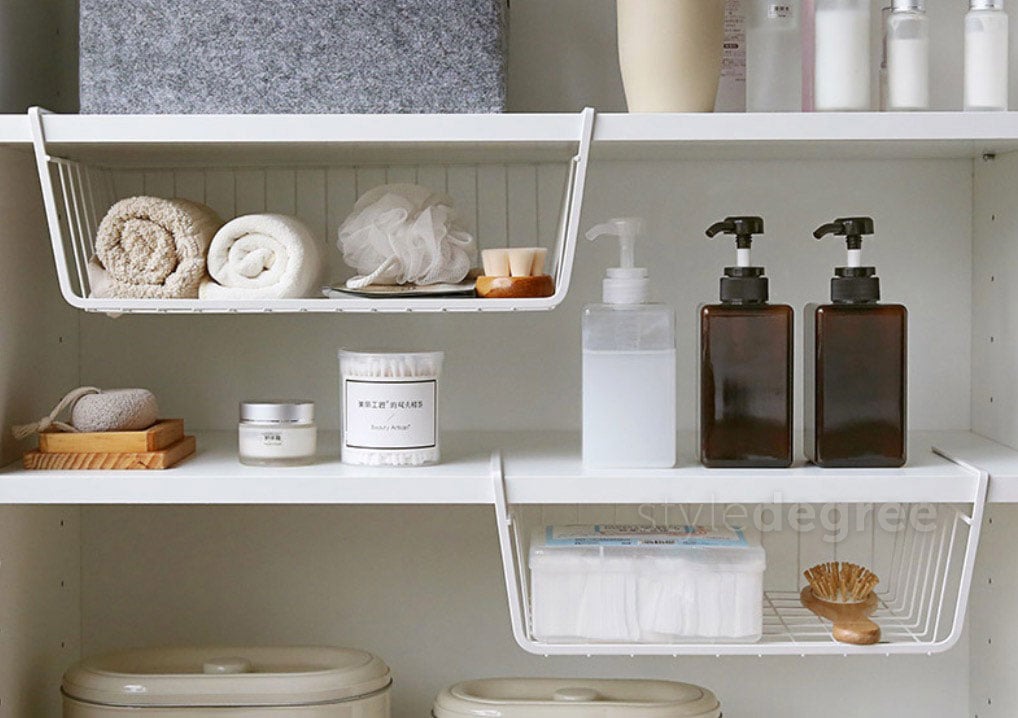
Another way to store your essentials in a compact form, is with our Dual Sliding Under Sink & Countertop Storage Organizer. With two layers, you can keep refill packs, detergents, sponges, and hand towels. You don’t have to worry about space running out, while keeping your under sink cabinet from being all over the place.
4. Use Storage Baskets & Add Labels
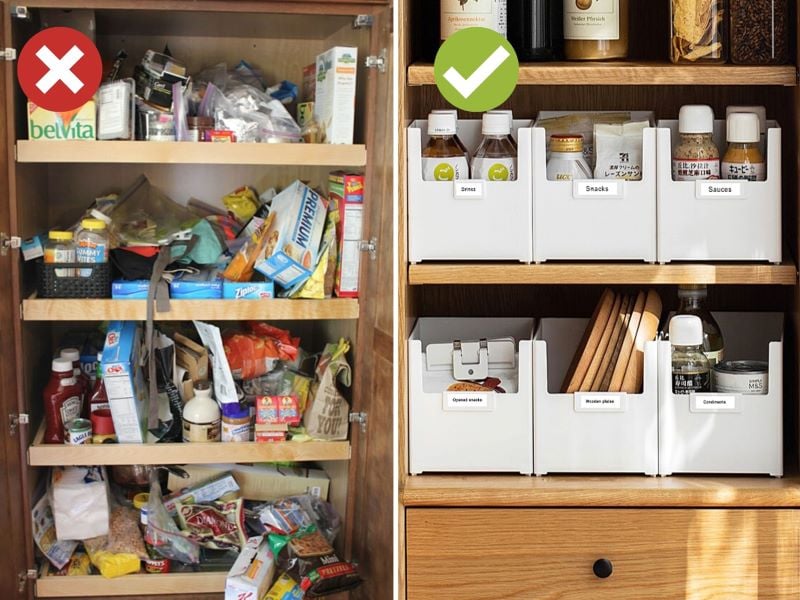
To get further organized, make use of storage baskets or boxes. It will help create better distinctions between your items. This step applies to all areas of your home. Fit the appropriate essentials in each box, and you will immediately see visually pleasing categorisation.
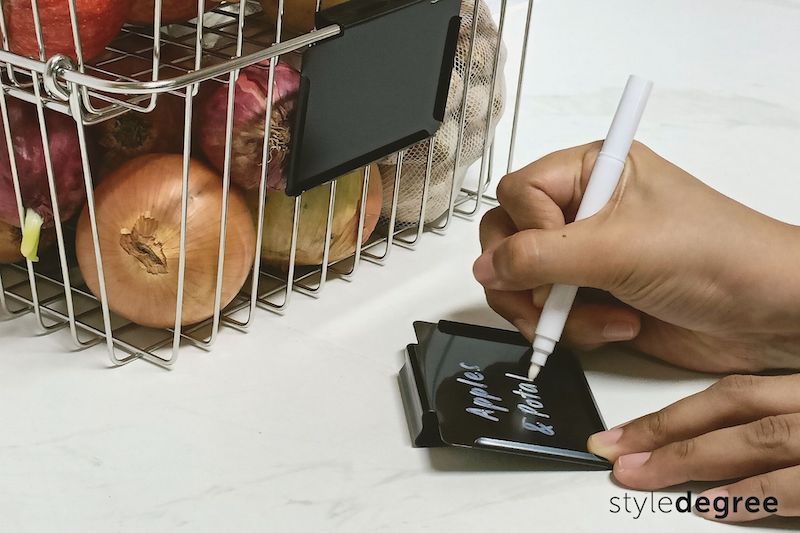
Label each storage box so that you can identify what you need at first glance.
Especially for families, with labelled boxes, you can teach children to identify where they should retrieve and put back their belongings, or indicate any safety hazards the items may have.
Labelling Tip: Make your labels easily removable and replaceable. This is best suited for multipurpose containers, as when the contents change, the labels can be switched up together as and when they are needed.
If you’re not up for making your own labels from scratch for your food containers, our Pantry Sticker Labels might appeal to you! They are printed with Purchase and Expiry Date blanks for you to fill in. You also get two designs to choose from – simple or classy typography.
5. Maintain It By Setting A Limit
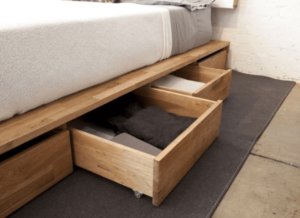
Image source: MakeSpace
In order to keep your zones well-maintained, the one most important thing to remember is to set a limit for your zones. Make sure any designated section you have does not become so stuffed that it bleeds over to the next one.
If it does, it’s a signal that you have to relook at what you have in your cabinets. Purge expired items, or items that you no longer use for.
At the end of the day, it’s good to keep this quote in mind: “A place for everything, and everything in its place.” We hope this step-by-step guide has given you a good idea on how to transform your home into the tidy place it should be.
Translate this motivation into action, and you’ll see satisfying results!


